Home · Games · Protocol · Manual
Mayday Protocol manual quick reference
| Fact | Reading | Status |
|---|---|---|
| Edition | Expert Co-Pilot Manual v1.1 | 1 source · manual footer |
| Length | 14 pages, 13 protocols | 1 source · Wazang manual |
| Files | HTML and PDF, one pair per language | 1 source · Wazang Games |
| Languages | 13: de, en, es, fr, it, ja, ko, nl, pl, pt, ru, tr, zh-CN | 1 source · download page |
| English HTML | wazanggames.com/manuals/mayday-protocol-manual-en.html | 1 source · Wazang Games |
| English PDF | wazanggames.com/manuals/mayday-protocol-manual-en.pdf | 1 source · Wazang Games |
| Gauges named | Oil pressure, airspeed, altimeter, tachometer, fuel, temperature, ammeter | 1 source · manual |
| Last rule | Final Stabilization Protocol is solved last | 1 source · manual |
The official Mayday Protocol handbook is available as a 14-page PDF and a searchable HTML document. This page is the searchable layer: which protocol is which, who looks at the screen, and who looks at the paper. It is not a substitute for the manual. The solution grids, color tables, and numeric codes stay on Wazang’s HTML and PDF, because copying them would freeze an old revision and step on the document they asked players to use.
Thirty-second pass
- Pilot reads the seven gauges out loud before anyone guesses a protocol name.
- Co-pilot names the protocol, then opens that page of the official manual.
- Pilot describes only what the panel is doing. Co-pilot answers with the next input, not a lecture.
- Leave Final Stabilization until every other panel is done.
Who holds what
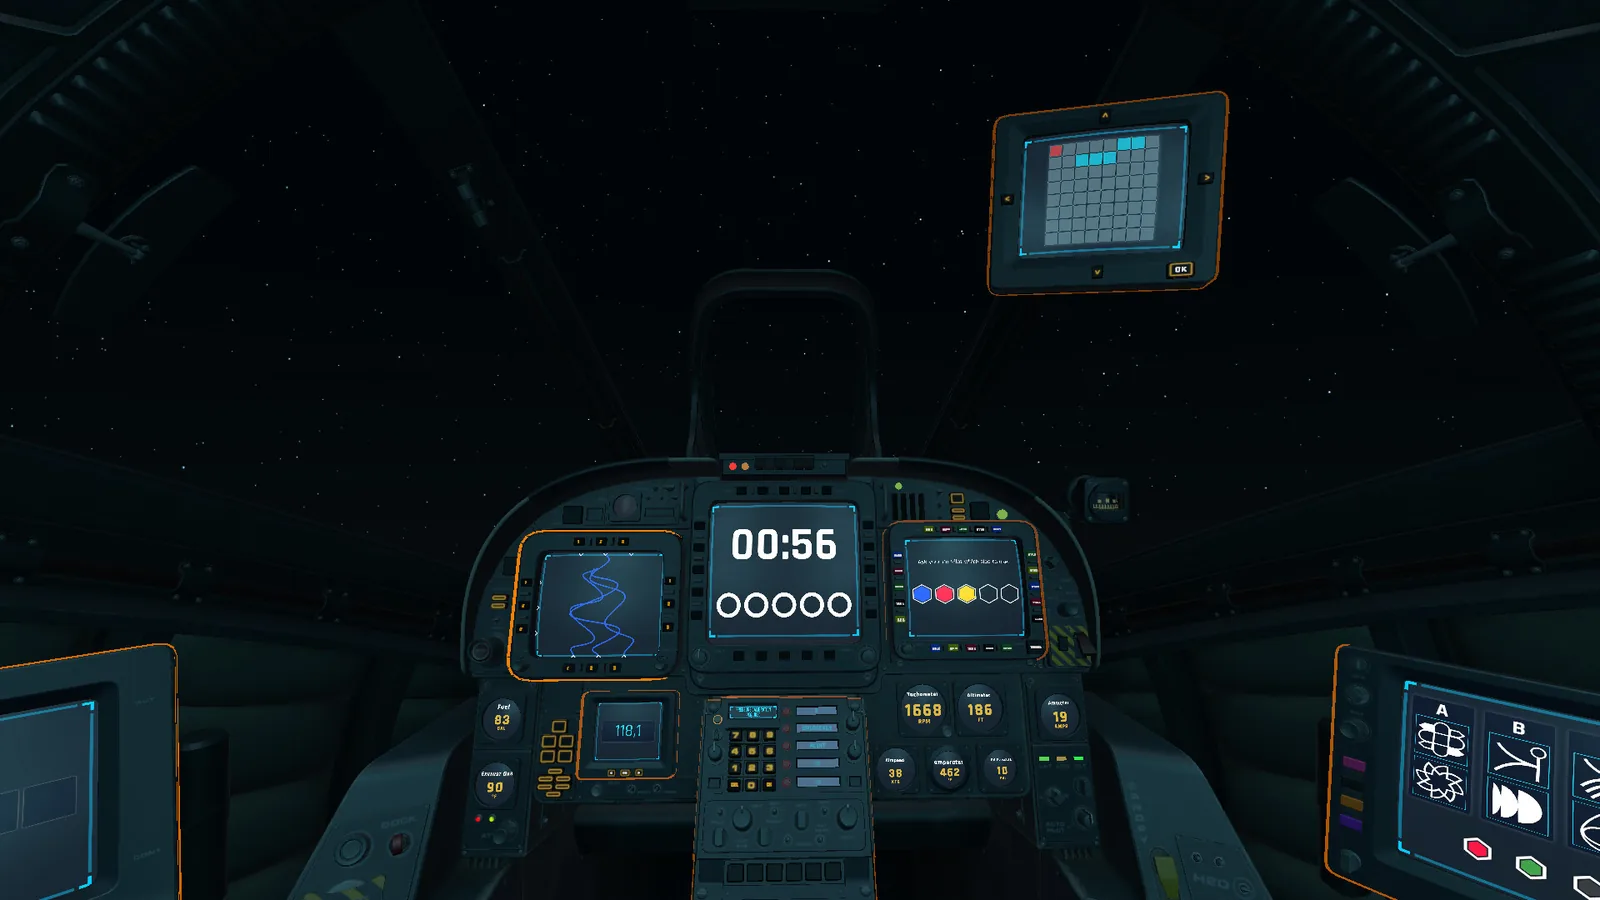
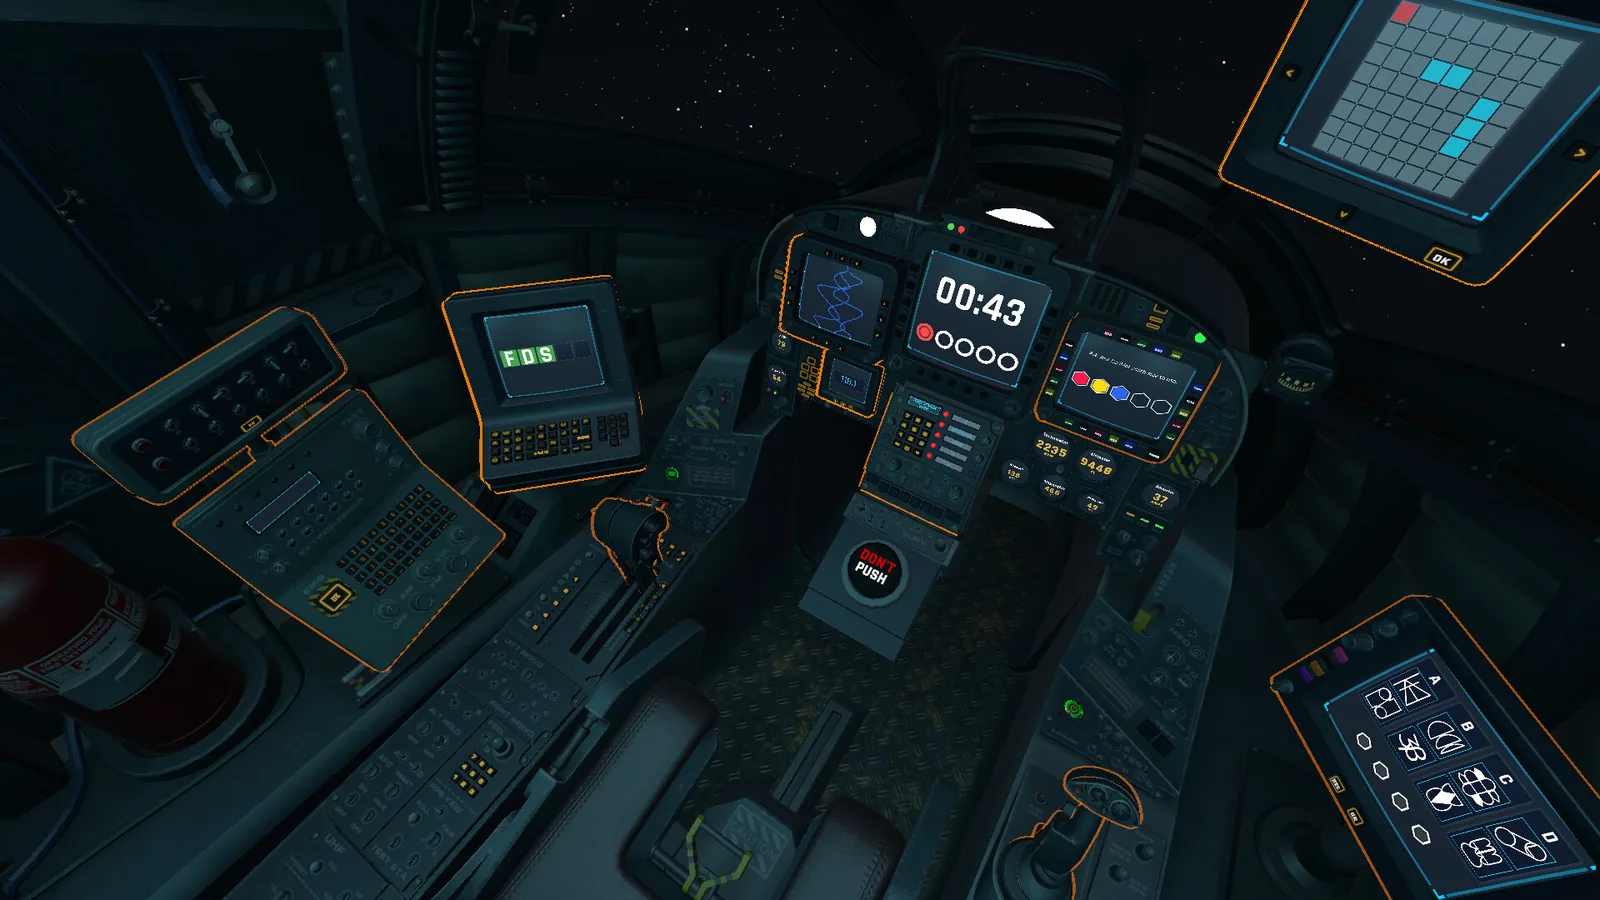
The pilot sees the cockpit: sides of a panel, lamps, switches, a radar, a timer. The co-pilot sees the procedure for that panel and the instrument gate that chooses which table applies. The pilot is the only one who presses anything. The co-pilot is the only one who should be reading the page. If the co-pilot watches the screen, the asymmetry the game is built on collapses. The setup page covers where to sit and how a phone is enough for the handbook.
| # | Protocol | Page | Pilot sees | Co-pilot looks up | Failure |
|---|---|---|---|---|---|
| 1 | Signal Color Encoder | 2 | Four sides (top/right/bottom/left), five color buttons per side, each button has a background color and a written color name | Instrument-gated side choice, then a five-position color sequence built from unused colors | Wrong color sequence contributes to the mistake limit |
| 2 | Emergency Frequency Adjuster | 3 | LCD screen, LEFT/RIGHT buttons, ENTER, and equipment icons for fire extinguisher, flare rounds and oxygen cylinder | Three frequency tables A/B/C keyed to equipment counts and oil pressure, airspeed, altimeter, tachometer or oxygen values | Wrong frequency counts as a mistake |
| 3 | Threat Mapping Grid | 4 | 8x8 grid with two hidden enemy planes, two bombs, and the Pilot's own 1x2 and 1x3 planes revealed | Find the matching own-plane scenario table, then target enemy cells while avoiding bombs | Wrong target or bomb hit |
| 4 | Altitude Verification Module | 5 | A five-letter word input, then a five-digit number input; only some letters/digits are enabled | Table A-E chosen by fuel, altimeter, airspeed, tachometer, oil pressure or temperature; read candidate words/numbers in order | No typeable word/number, or timeout |
| 5 | Circuit Flow Tracker | 6 | Button 2 at the top of a circuit board; the line leads to one of three numbered paths | Ask which number the Pilot's line reached, then read the matching connection table (1/2/3) | Wrong connection mapping |
| 6 | Shape Collision Matrix | 7 | A grid of shapes; the Pilot reads the top and bottom shape in a column | Use the shape-collision matrix: top shape is the column header, bottom shape the row header, intersection gives the color | Wrong color |
| 7 | Pressure Emergency Response | 8 | A random alarm with a red light; the Pilot has 30 seconds to enter a three-digit code | Use trigger number 1/2/3 to pick Table 1/2/3, then read oil pressure, temperature or tachometer band | Wrong code or 30-second timeout |
| 8 | Multi-Circuit Switching Panel | 9 | A color panel, eight switches, an LED sequence and a numpad | Color sets the eight switch positions; LED order gives four letters; the numpad phase gives the final code | Wrong switch/LED/code entry |
| 9 | Guidance Override System | 10 | Six upper and six lower switches, red lights, then an instrument/direction/keyboard panel | Red-light count selects Table A/B/C for lower switches; green-light count selects the instrument range; then four directions and three keys | Wrong switch positions or directions |
| 10 | Radar Navigation Protocol | 11 | Radar screen with the aircraft at center and star, circle, triangle, square and rectangle shapes in colors | Read each shape's color, find the matching row, call the order to fly; do not cross a shape whose turn has not come | Wrong order or crossing an inactive shape |
| 11 | Code Word Protocol | 12 | A color in the center, a round number above it, and 20 buttons each carrying a code word | Cross-reference color and round number to find the word; repeat for four clean calls | Wrong button resets the panel to round 1 |
| 12 | Damage Report Protocol | 13 | A large aircraft icon with damaged sections flashing red, plus warning lights | Match the warning-light pattern to the manual option and read the four-digit code beneath it | Wrong code clears the entry but the damage pattern stays |
| 13 | Final Stabilization Protocol | 14 | The final panel with a left lever and right joystick; it only activates after every other puzzle is solved | Use remaining time to pick the lever position and joystick direction row, then press the central PUSH button | Wrong lever/joystick or running out of time |
Ways a first round falls apart
The failures I will name are structural, not a spoiler table. Skipping the gauge call means the co-pilot opens the wrong table, because several protocols pick a column from oil pressure or airspeed. Reusing a color the panel has already spent fails the color protocols. Solving Final Stabilization early fails the level even if the code was right, because the manual says it is last. The pressure protocol is on a 30-second clock of its own; treating it like the others runs the timer out. Mistake limits and the level timer are both fail states in the manual. I am not publishing the numeric codes that clear them.
Which revision you are holding
The footer I read says v1.1. Version 1.5.0 of the game added three protocols, and the manual’s later pages are those three: radar navigation, code word, and damage report. The studio has not published a “manual last updated” date that I can pair with the patch, so I will not claim the PDF already matches every later build. If the page and the game disagree, the download page wins, and this table should be re-read.
Questions people ask
| Where is the Mayday Protocol manual? On the studio site, as HTML and as a PDF. The English HTML is linked in the sources. |
| Is there a PDF? Yes. Each of the 13 languages has an HTML file and a PDF. |
| How many pages and puzzles? 14 pages and 13 protocols in v1.1. |
| Is the manual available in Chinese? Yes. Simplified Chinese is one of the 13 files on the download page. |
| Can the co-pilot play without the game? Yes. The co-pilot needs the manual, not a second copy of the game. |
| What is the final puzzle? Final Stabilization Protocol, page 14. The manual says to solve it last: remaining time, then the left lever and right stick, then push. |
Related pages
Sources
- Manual downloads — checked 2026-11-05
- English HTML manual — checked 2026-11-05
- English PDF manual — checked 2026-11-05
- Steam news, 1.5.0 — checked 2026-11-05
- Game page — checked 2026-11-05